-
1. Mark out the installation area
As defined by the designer, taking into account 30 cm (12″) of perimeter clearance and the slope of the pit, also depending from the existing soil type.
-
2. Excavate to the correct design depth
Then compact the bottom of the pit, if required lay a geotextile.
-
3. Create a gravel subgrade
10–20 mm diameter, with a thickness of 100 mm (4″), or as designed. Compact properly and make sure it is leveled.
-
4. Locate and mark
Locate and mark the area of the excavation where the tree will be planted. No rootbox module shall be installed within this area.
-
5. Install Rootbox
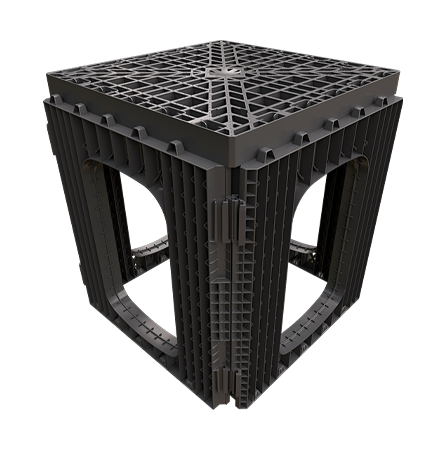
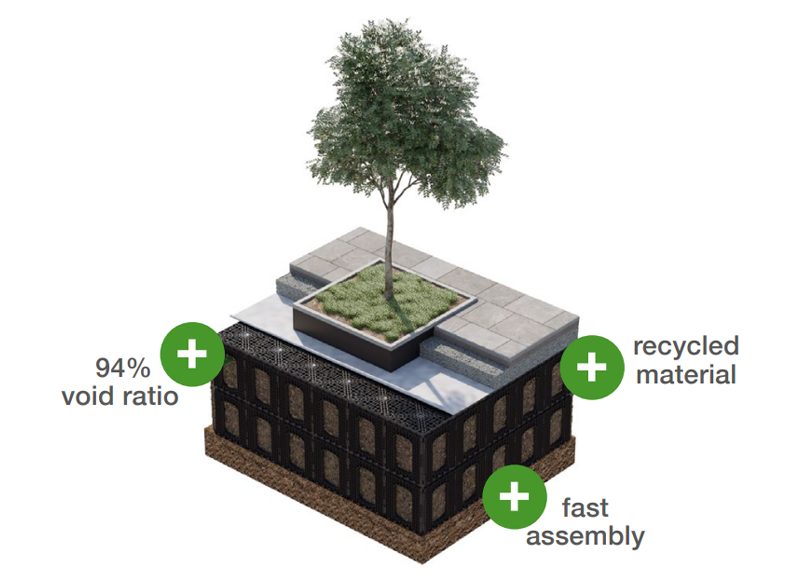
Install Rootbox following the pit design and the installation instructions. If multiple layers are planned, repeat the steps described. At this stage, do not close the structure with the top grid yet.
-
6. Place the tree
Anchor it to the bottom of the pit if necessary (for example in case of an already well developed trunk).
-
7. Irrigation and aeration system
If required by the project, install the irrigation and aeration system by inserting pipes inside the Rootbox system.
-
8. Wrap the system
Wrap the system with geotextile, then fill it with specific plant soil. Compact the planting soil, then, watering if necessary, until it has reached the expected level.
-
9. Close the Rootbox
Close Rootbox with the top grid, lay geotextile, and place curbs (precast or cast-in place) as per design.
-
10. Install the root barrier
Install the root barrier of choice in the pit and around the trunk.
-
11. Finish the installation
Close the excavation with the finishing build-up, compacting, if necessary, with a plate compactor. Carry out the finishing of the area with the planned paving (concrete pavers, synthetic concrete pavers, concrete, asphalt, etc.).