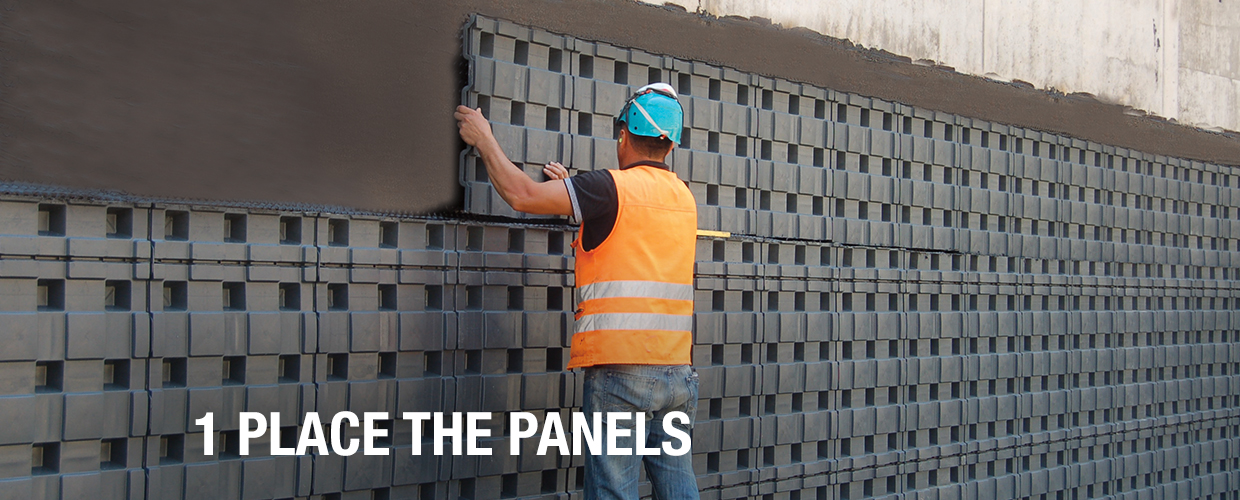
1 Place the panels
Place and attach Defender panels onto the waterproofed wall from left to right, using the adhesives on the back.
Install Defender in 5 easy steps

Defender is our sustainably profitable solution for the protection of basement walls. It replaces the outdated setup of 20 cm of gravel + dimpled membrane with only 7 cm of recycled plastic, making construction projects simpler, faster, less expensive, and more sustainable. Here is how to install it in 5 easy steps.
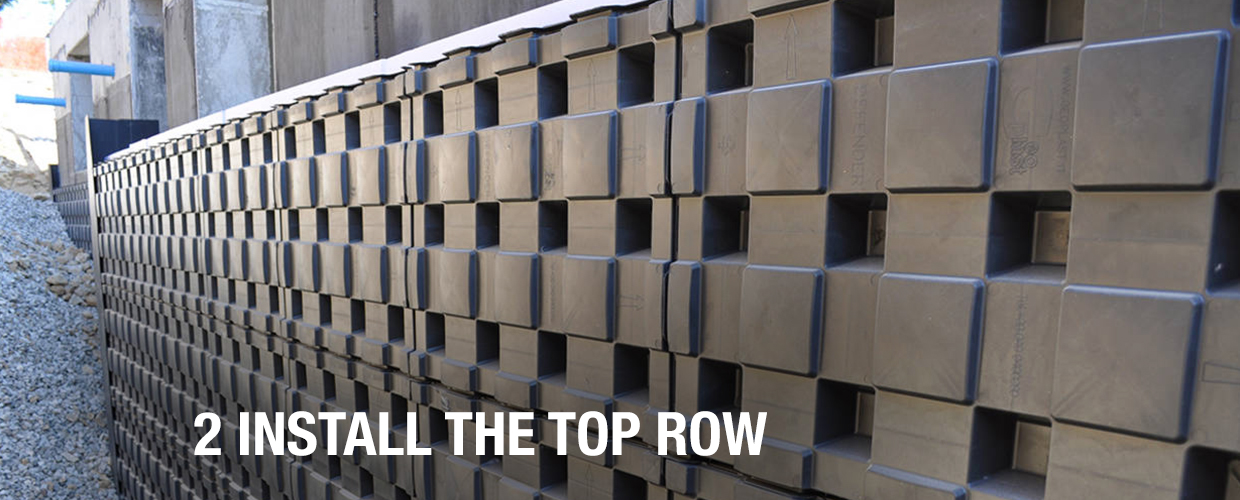
2 Install the top row
Install the top Defender row last, making sure to fix each panel with mechanical, or preferably chemical anchors.
Install the top Defender row last, making sure to fix each panel with mechanical, or preferably chemical anchors.
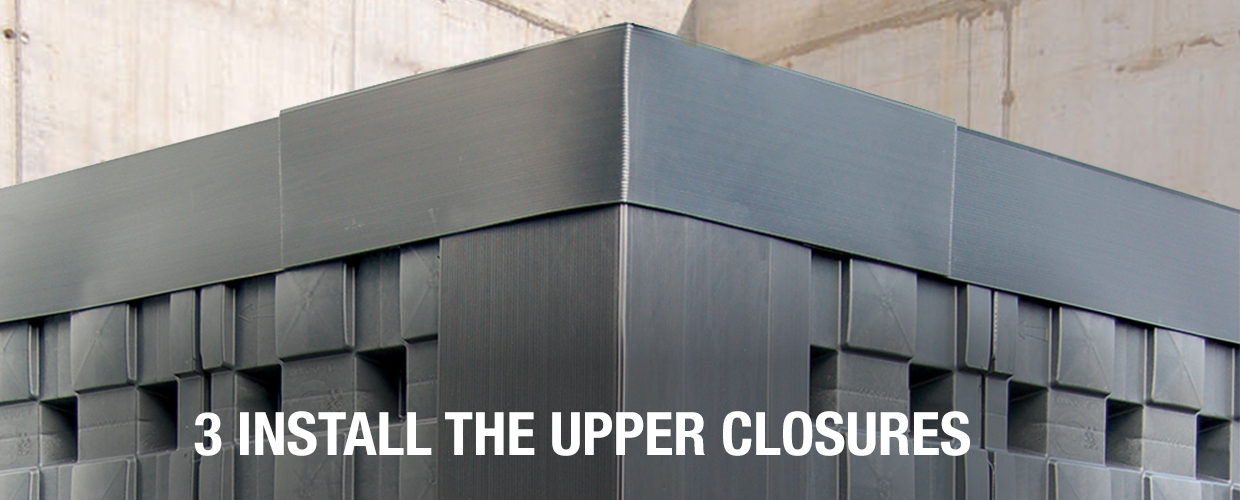
3 Install the upper closures
Close the gap between Defender and the upper part of the wall with recycled plastic boards. Ensure the boards overlap at least 20 cm and fix them with self-tapping screws or adhesive.
Close the gap between Defender and the upper part of the wall with recycled plastic boards. Ensure the boards overlap at least 20 cm and fix them with self-tapping screws or adhesive.
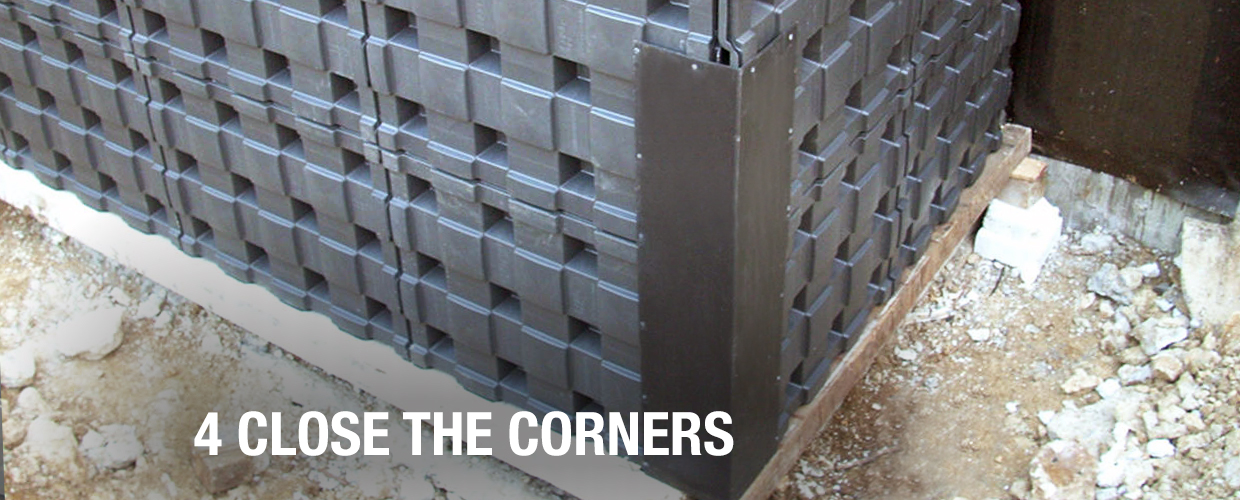
4 Close the corners
Apply recycled plastic boards onto the corners of the wall as well and fix them with 50 cm screws.
Apply recycled plastic boards onto the corners of the wall as well and fix them with 50 cm screws.
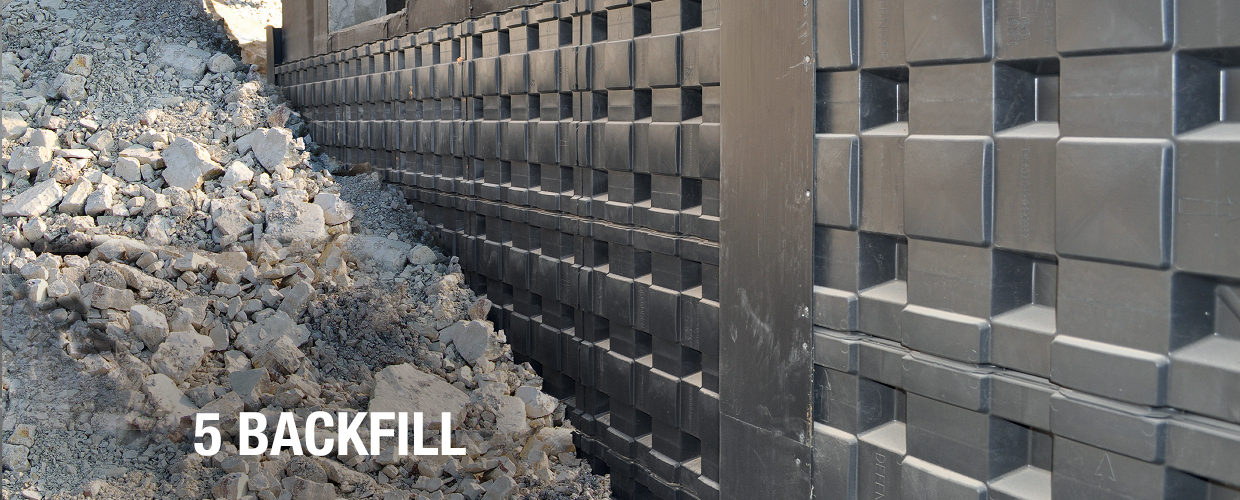
5 Backfill
Lay the drainage pipe at the base of the wall. Proceed with the backfill, minding not to damage Defender panels.
Lay the drainage pipe at the base of the wall. Proceed with the backfill, minding not to damage Defender panels.